Brown Coat Preparation
A guide to preparing brown coats for different types of finish textures. By Bruce Bell
Critical to the success of any project is the amount of time given to preparing the brown coat or leveling coat. In the past, when French lace textures or heavy grit sand finishes were popular, preparing the brown coat was a matter of rodding a wall, knocking off the clinkers and curing the heck out of the plaster. Given enough time, the wall would get hard, crack out and your texture would hide almost every variation in the plane you left untouched.
In the current environment, where code officials, superintendents, architects, designers, and owners are becoming sensitized to every variation in the plane and are specifying finer grit finishes, both in stucco or synthetic finishes, the plastering industry might define the process of achieving superior quality by explaining how to prepare the brown coat based on the type of texture specified.
The following suggestions for additional steps that can be taken, plus having increased awareness of how to prepare a brown coat using different tools than you might otherwise use, makes a lot of sense. The following is a guide for different textures and finish materials, and specific ways to achieve a superior plaster job for each type of material and texture, based on how one prepares the brown coat.
Textures
Using the list of textures contained in the Appendix of ASTM C-926-18a X1.2, Finish Coat Categories, I would like to define how the code approaches applying the finish texture, expand on that language, then explain the best ways to prepare the brown coat.
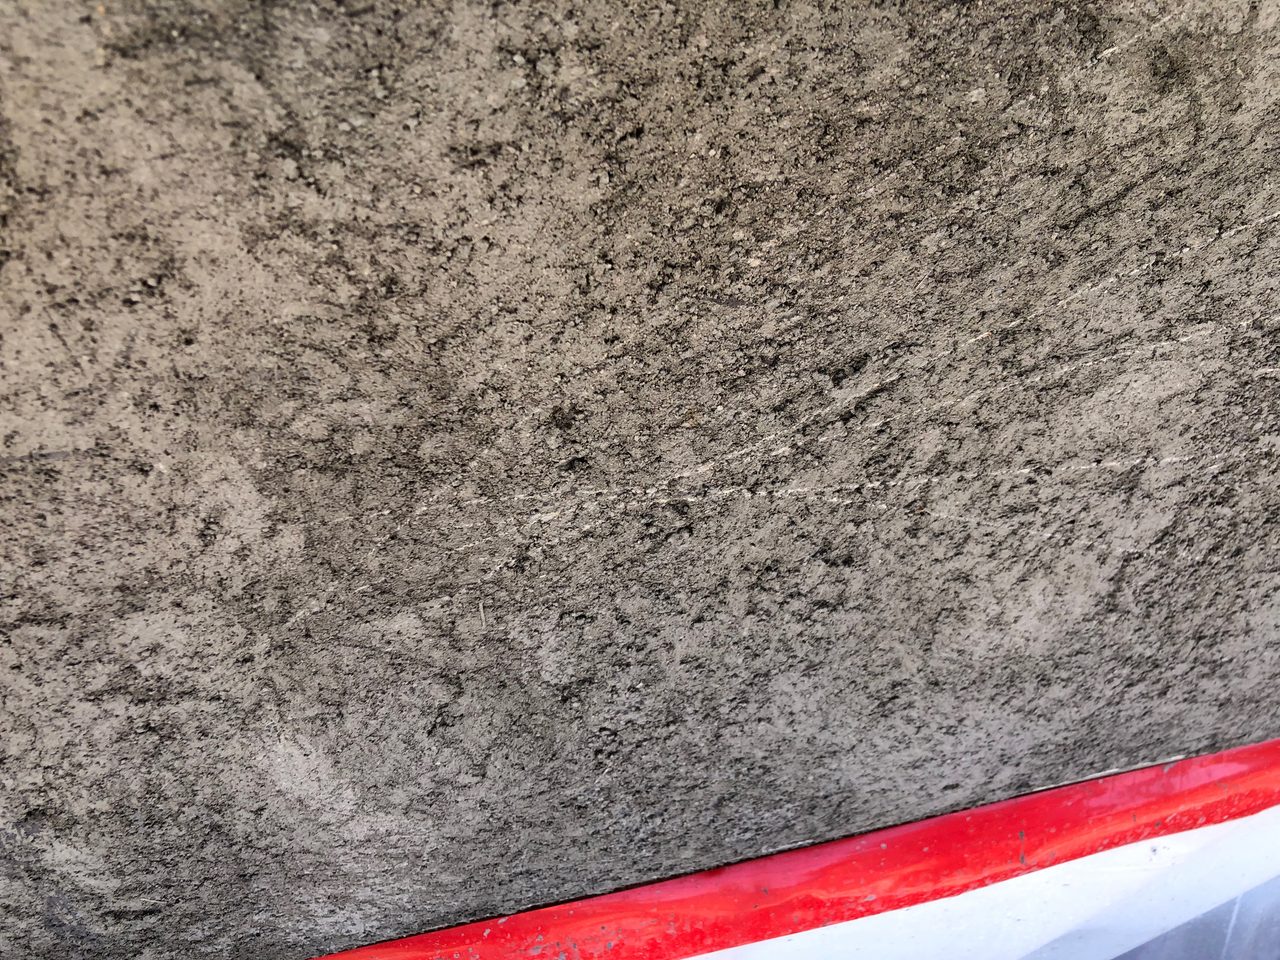
X1.2.4 Smooth Trowel Hand or machine applied plaster floated as smooth as possible and then steel troweled. Smooth troweled plaster finishes have specific weaknesses that you need to be aware of. They are prone to “alligator cracking” (see picture with alligator cracking) and over-troweling can cause burn marks in the finish (see picture).
Preparing the brown coat for smooth troweled finishes means keeping the plane flat. The reason is that variations in the base cause uneven finish application. Thicker finish in one pass equals alligator cracking, because thicker stucco in hot conditions will shrink and crack. Thinner spots get burnished and become burn marks. So a really flat brown coat with minimal voids and variations is essential. If your floated brown coat is cured, finding a place to bury the finish aggregate becomes an issue.
“Chatter marks” and exposed sand can occur when you single foot your smooth finish. The solution is to scratch and double back your stucco. The scratch coat or first pass is the matrix into which your double back coat aggregate gets troweled. The first pass is applied with less pressure and with more material than the double back coat, which uses less material and more pressure. The pressure compresses the aggregate into the first pass matrix. This method allows you to knock down uneven points at your leisure and leave a superior job.
Float Plasters
The X1.2.5 Float Plaster is devoid of coarse aggregate applied in a thin coat completely covering the basecoat, followed by a second coat that is floated to a true plane surface yielding a relatively smooth to fine-textured finish, depending on the size of aggregate and technique used. It is also known as sand finish.
There are methods of immediately preparing the brown for finishing. In southern California, this can be done using spread coarse aggregate with a red float. In some areas they spread the scratch coat first without adding moisture to ensure the voids and variations in the plane don’t get gouged out by the float man.
The float plasterer carries a fine mist spray nozzle in one hand attached to a long thin hose and a clean sponge float in the other. He sprays the firm finish, bringing it back to life just on the surface where the sand aggregate can then be floated to the surface without messing with the flatness of the full depth of the finish.
In other areas, they wet down the brown coat for an hour before starting the finish coat application, and have a plasterer spread and float man combo on each level of a wall to ensure no cold jointings will occur. In moist areas where there is fog or high humidity and mottling is an issue, a Hudson sprayer of stucco paint matching the texture is sprayed over the whole elevation to even out the finish color.
The X1.2.5 finish application language presumes an inert finish with medium to coarse aggregate,e but doesn’t address several onsite conditions that should be considered if you have a fine grit finish or synthetic finish. If you have a fine grit finish your ability to fill voids without check cracking becomes an issue, so preparing the brown coat becomes important. We’ve had tremendous success with rodding a dry brown coat knocking off the clinkers then skinning the surface with a slurry coat of fine grit finish filling the voids left from rodding. This flattens the walls enough to apply a single foot finish coat after the brown has cured and still complies with the application requirements in X1.2.5.
Fine grit synthetic finishes need a much more precise preparation of the brown coat because synthetic finishes air dry and shrink back into any void or variation in the plane.
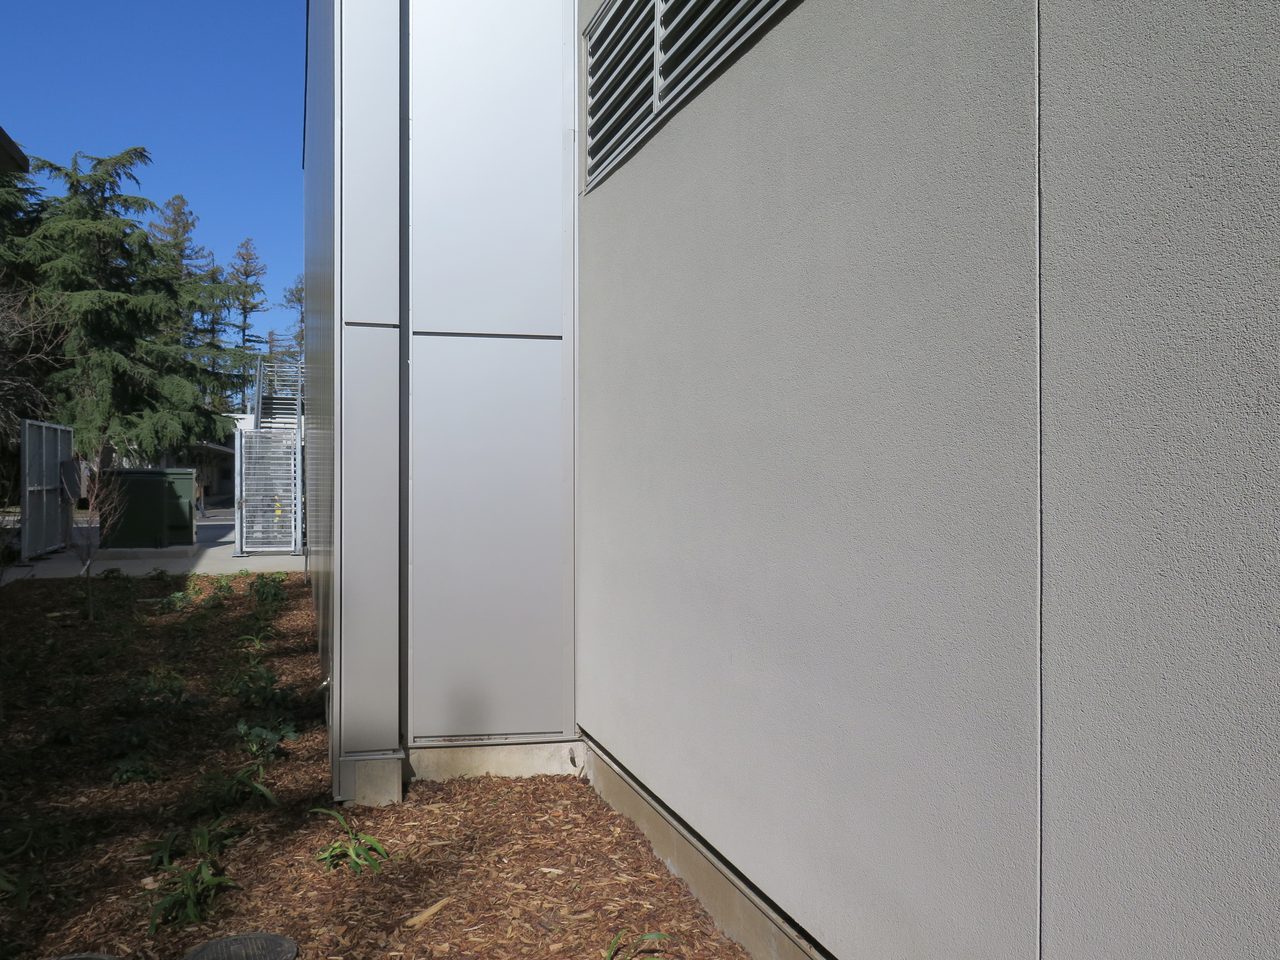
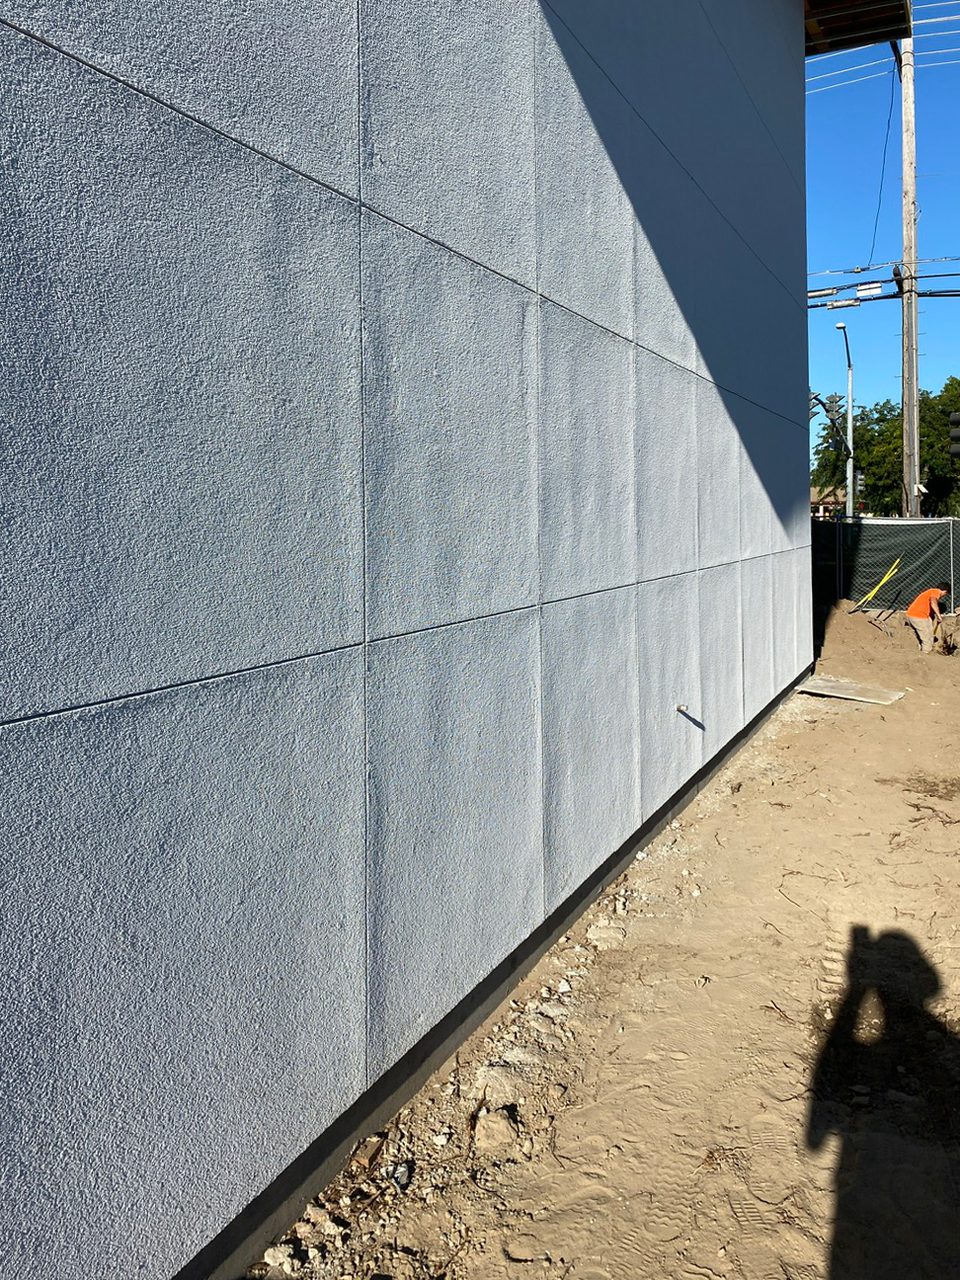
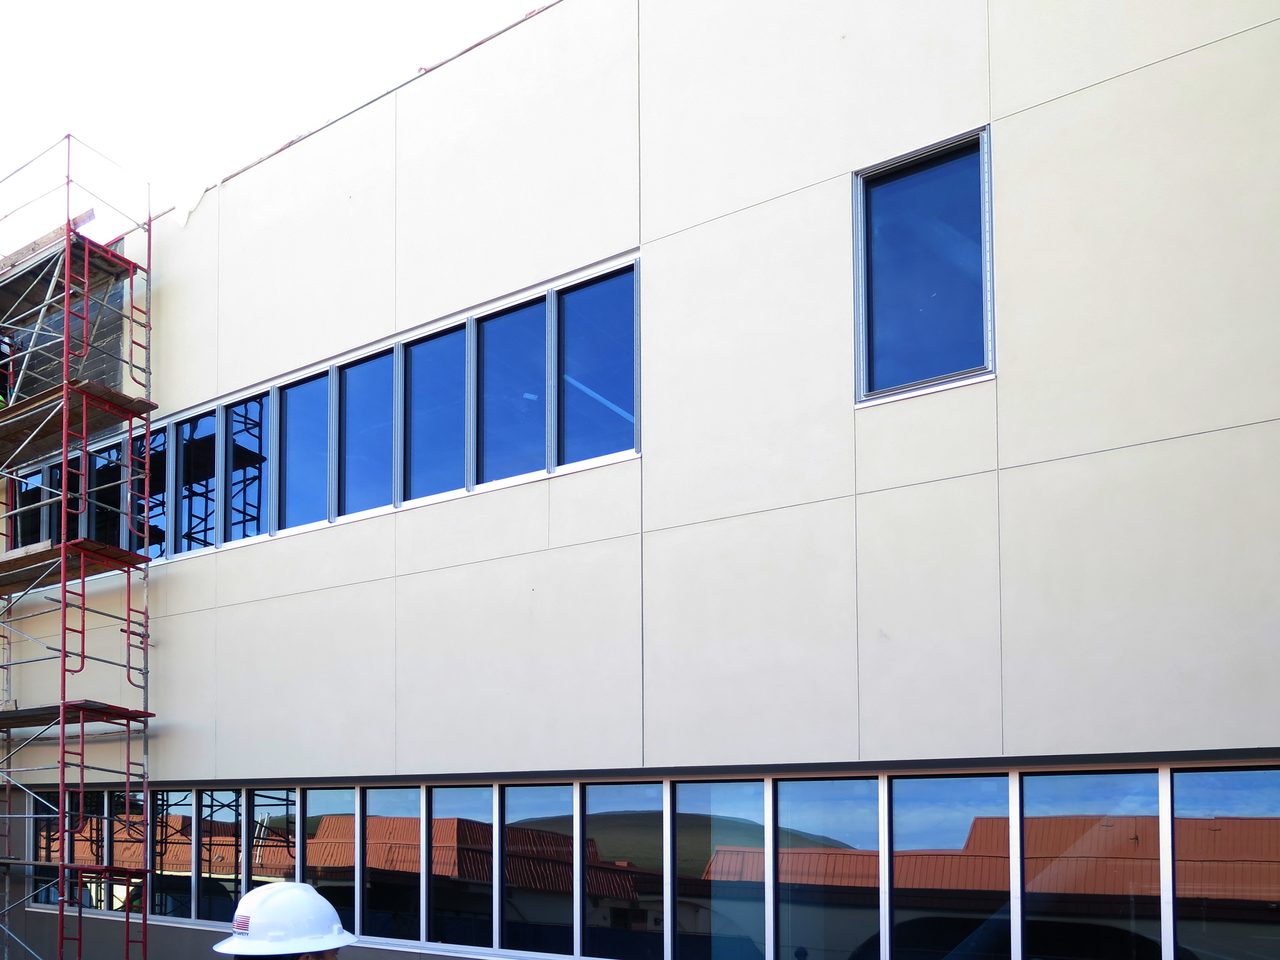
When synthetic finishes are specified, the Cadillac method of achieving optimum flatness, even texture and color is rodding the brown coat flat, then adding a lamina of acrylic basecoat, netting embedded in the basecoat, then application of the finish coat. For more information, the Stucco Manufacturers Association website has a video of the process (see picture of Henley’s flat walls in critical light). The other variation of this process is to include a lamina of acrylic base during the float process to fill minor voids and create even suction on the wall.
X1.2.6 Trowel-Texture (such as Spanish Fan, Trowel Sweep English Cottage): A freshly applied plaster coat is given various textures, designs, or stippled effects by hand troweling. All if these textures can be applied successfully with regular brown coat rodding and floating techniques because they hide most variations in the surface or the plane of the plaster panel.
X1.2.7 Rough Textured (such as Rough Cast, Wet Dash, Scottish Harl): Coarse aggregate is mixed intimately with the plaster and is then propelled against the basecoat by trowel or by hand tool. The reason we rarely see these types of finishes anymore is that they were only used to hide poor brown coat preparation.
X1.2.8 Exposed Aggregate (also known as Marblecrete): Varying sizes of natural or manufactured stone, shell, or ceramic aggregates are embedded by hand or machine propulsion into a freshly applied, then smooth coat of the same mix. The bedding coat is the thickness of the brown coat and requires that the scratch coat be even and evenly scored or scarified.
X1.2.9 Spray Textured: A machine-applied plaster coat directed over a previously applied thin smooth (or floated with a green float) coat of the same mix. The texture achieved depends on the consistency of the sprayed mixture, moisture content of the base to which it is applied, the angle and distance of the nozzle to the surface, and the pressure of the machine. Preparation of the brown coat for this type of finish presumes a flat brown coat without any variations or voids in the surface, hence the language preparing the brown coat by applying a finish coat first “of the same mix” (only thicker).
Decades of Success
Plasterers have had decades of success with dash coat finished homes by preparing a brown coat mix or leveling coat mix, using consistent aggregate (masonry sand) leveled using a smooth darby and then floating the surface with a soft sponge float bringing out the masonry aggregate as the base for the dash coat. In both instances, a flat even coat with no voids or variations in the plane is critical to superior dash coat applications because spray applied finishes follow any brown coat void or variation.
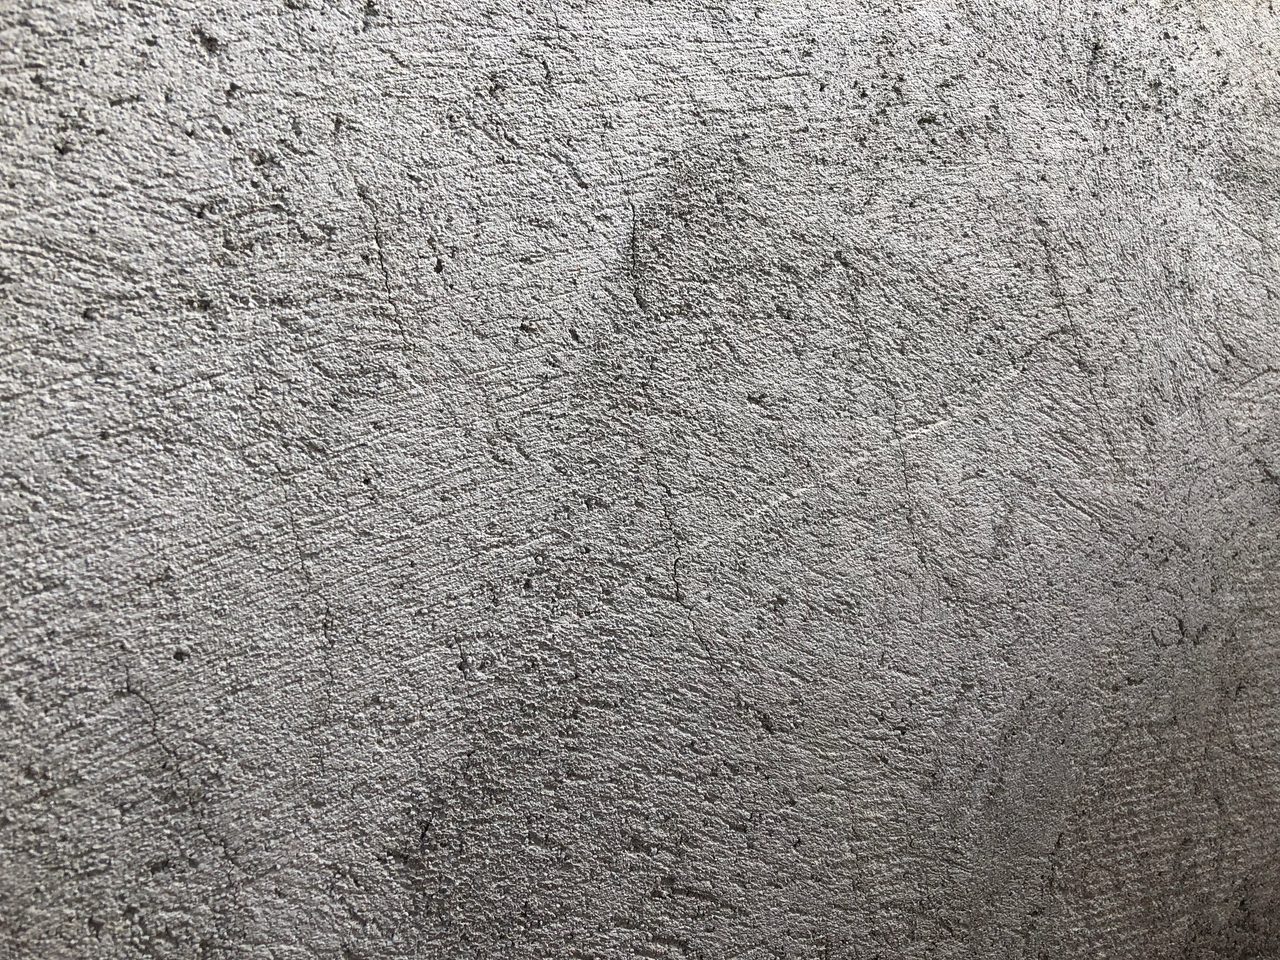
X1.2.10 Brush-Finish: A method of surfacing or resurfacing new or existing plaster. The plaster is applied with a brush to a thickness of not less than 1/16 inch. For an existing plaster surface, the bond capability must be determined by test application or a bonding compound must be applied prior to the brush application. This is the famous whitewash or stucco paint finish used in the early days of PCP applications, when common cement was the only type available and tooling the plaster was extremely difficult to do (picture of Monterey White Walls City Center).
To make stucco paint stick, lard or rock salt was mixed in with the stucco paint to aid in coverage and bonding. The brown coat was not darbied but hand-troweled smooth, then prepared by brushing the cement plaster with a wash brush to smooth out the trowel marks and open the pores of the material. The brush finish is stucco or white cement and lime with no aggregate mixed to the consistency of 2 percent milk, then brushed over a wet brown coat or existing plaster surface. Over time, re-washing walls with a brush finish created the undulating gorgeous finish seen here on the walls of the Monterey City Center (see picture).
Whatever your choice of finish, preparing the brown coat for each specific type of finish and texture will inevitably produce better plaster projects.
Images courtesy of xxxxxxx.
Bruce Bell has worked under various roles within the plastering community since 1970, serving as executive Board Member Plasterers’ Union Local #295, ASTM C-11 Committee, and much more.
March 2022 | Volume 85 | Issue 3
The Voice of the Industry since 1938