The Ten Keys to a Quality
Stucco Job
The Ten Keys to a
Quality
Stucco Job
xxxx xxxx
xxxxx xxxx xxxxx xxxxxx xxxxxxxx
Want a stucco job done right? Follow these ten steps.
By Bruce Bell
I’ve been in the plastering industry for almost 50 years. I started out as a hod carrier, worked for 18 years as a journeyman plasterer, served as the Executive Director of the Sacramento Valley Bureau for Lath and Plaster, and served on the Northern California Apprenticeship Committee. Although I’m retired from those positions, those positions aren’t retired from me. I still work as a consultant to architects, contractors, the Wall and Ceiling Alliance and the Wall and Ceiling Bureau covering the Northern California area.
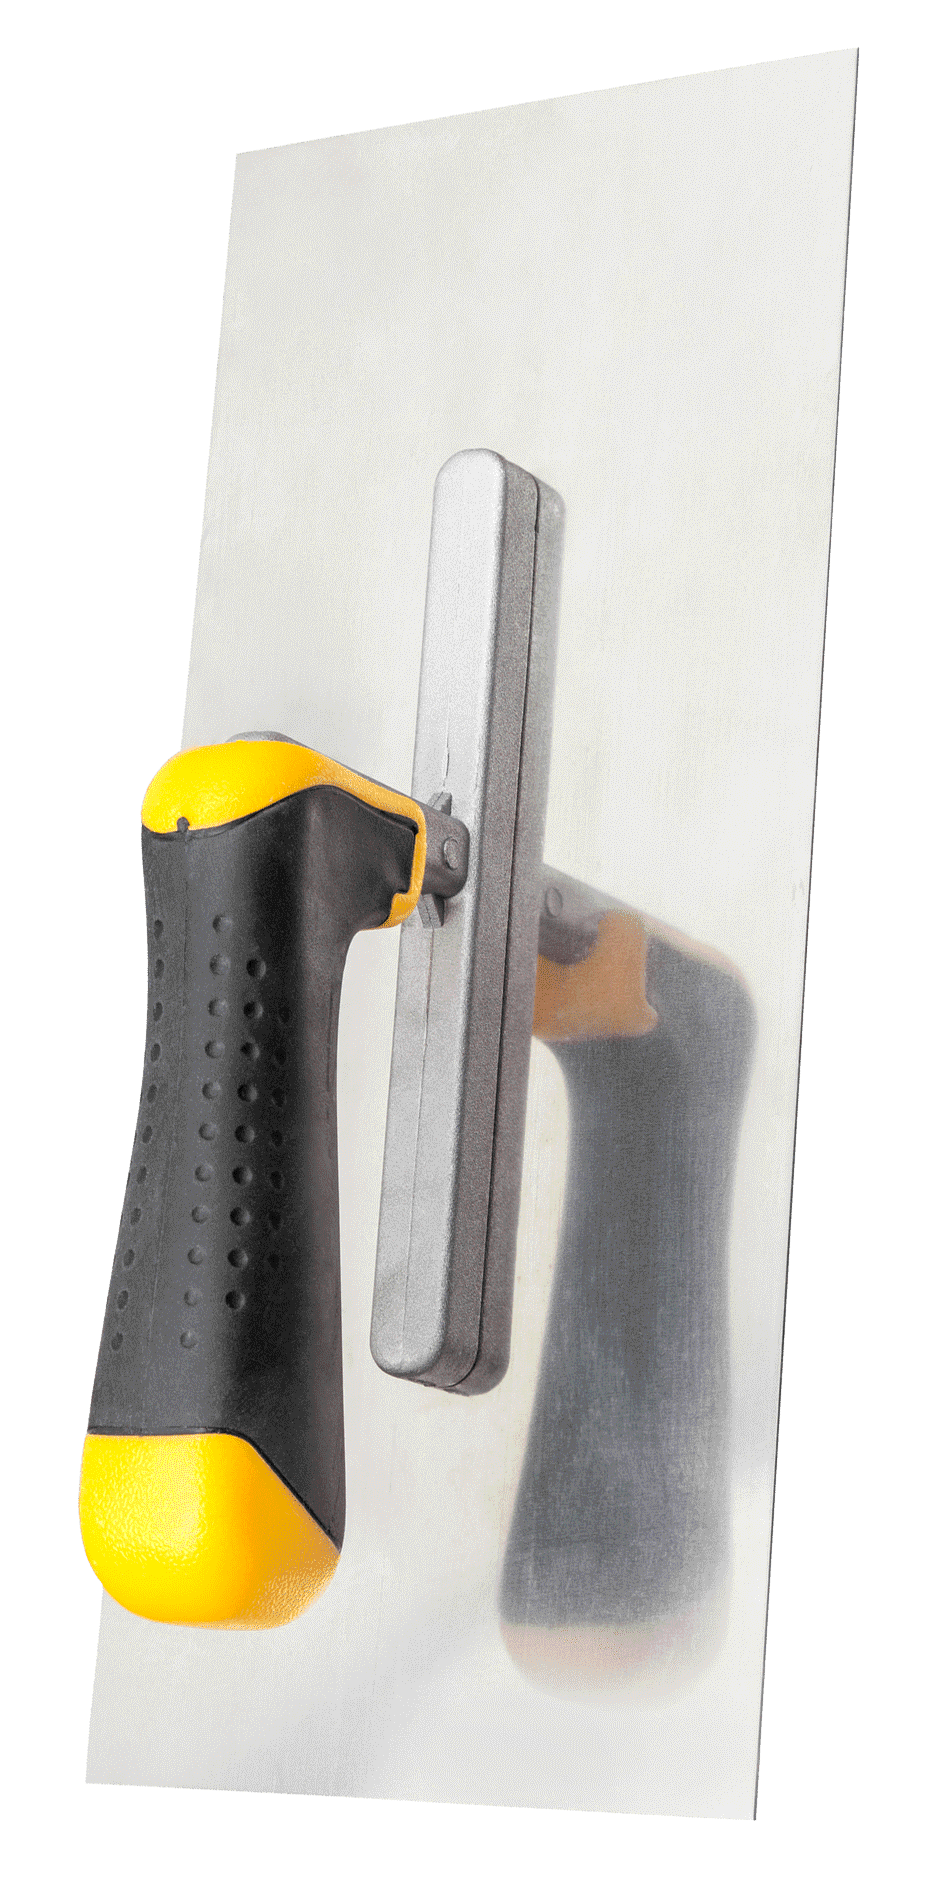
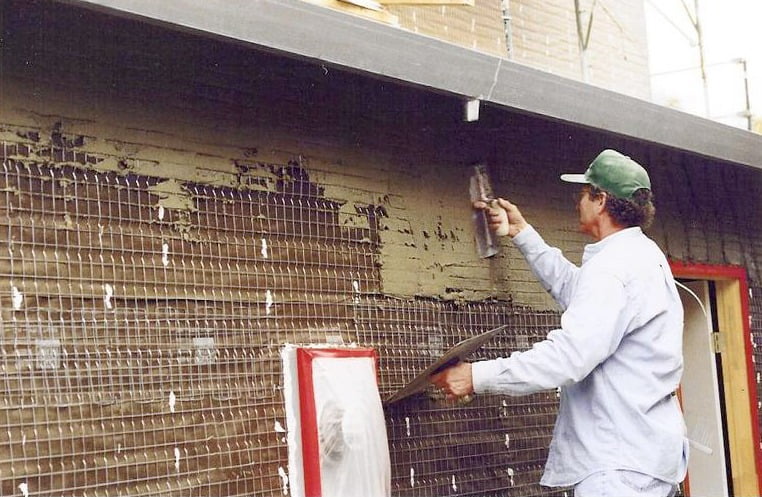
Before I talk about quality control, I’ll start with a quick overview of how Portland cement plaster is applied and finished. The application process starts by ensuring you are mixing enough material for the job. The plasterer sets up mud boards so that they can put mud on the hawk, take mud off the hawk with the trowel, and smooth it on the wire lath with enough material and pressure to bed the lath and provide enough material on top of the wire for a superior “scratch coat.”
The scratch coat is the first coat of plaster applied in any plaster system to a plaster base. It’s the structural component to a stucco wall that provides the most strength to the plaster lamina in a three coat system. This coat is scarified or scored (“scratched”) to create grooves into which the “brown coat” will adhere. Once applied, the scratch coat is moist cured morning and evening for 48 hours.
The brown coat, the second coat of plaster, brings the plaster out to the grounds of the trim at the base of the wall and the edges of the doors and windows. The worker spreads plaster on the wall, and uses a darby to smooth the material as flat as he can while it is still plastic. When the brown coat sets, the wall is “rodded,” meaning the plasterer takes a long straight edge and works it over the wall to knock down high spots, fill in low spots, and ensure flatness.
A rubber float is then “floated” across the surface to compress the material and to knock off any minor high spots and fill in minor flaws. This coat is then moist cured morning and evening for 48 hours in preparation for the finish coat.
Taken together, the scratch and brown coats are called the “basecoat.”
The third step in a three-coat stucco system is the finish coat. If stucco finishing using a trowel, the walls need to be cool and moist with no standing water. Another common option is a “dash coat.” A dash finish coat is produced with a machine that sprays a fine tight texture on a wall using a soft slurry of stucco material. The texture is sand finished, without float marks, and needs a very well prepared basecoat. If the finish is a dash coat, the area around the walls will need to be covered to keep overspray at a minimum.
If you are using a crack reduction lamina, you spread acrylic adhesive in a tight skim coat and trowel in fiberglass netting. You then take further trowels of material to embed the mesh completely.
Quality control issues abound in the stucco industry. The public’s bullet point stucco takeaways are: It cracks, it’s not flat, and it leaks. But over the last decade, the plastering industry has made real progress in developing Portland cement plaster protocols that produce really flat, nearly crack-free panels. Here are the top ten keys to a great stucco job:
#1 Start With Good Framing
Concrete masonry or brick is the ideal foundation for plaster and is the most common substrate used for stucco in Europe. But, in the United States homebuilding industry, wood framing predominates. To get good performance from stucco over wood framing, you need to take steps to minimize movement of the substrate.
Three-coat cement stucco weighs in at about 10 pounds per square foot. When your framing is set without any dead load, adding stucco adds significant weight to the structure. As the framing settles, the weight of the plaster helps compress the joints of the framing. As the wood dries out, volumetric shrinkage occurs: all your lumber loses length and width. The plaster has been spread and dries over one area of wall, and ends up spread over a smaller area. This creates stress that can cause cracking in the basecoat of the plaster.
Making sure that the framing meets the engineering requirement of L/360 maximum deflection is the start. Then the framing needs to be constructed of wood products with no greater than 19% moisture content. Framed walls can rack if shear resistance is insufficient for the loads, floor framing can twist, shrink or deform, and the plaster reflects the way the framing behaves. If the framing is solid, the plaster will have minimal cracks.
The code-specified maximum variation in the plane of the base coat is 1/4 inch in 5 feet. A reasonable tolerance for the final product is 1/8 inch variation using an 8 foot straightedge, which is what the architects in Northern California whom I service specify. Good, flat framing makes it easy to create a flat wall. Conversely, variations in plane in the framing can end up being reflected in the plaster panel.
#2 Maintain the Drainage Plane
A good drainage plane is essential for allowing the plaster to manage the moisture that occurs during wet weather. The weather resistive barrier is the paper behind the lath that moisture hits before it migrates down the wall, keeping the interior safe and dry. We insist on a continuous weatherboard fashion (shingle fashion) installation of whatever WRB you choose, to ensure that your plaster weeps incidental moisture down the wall and out at the weep screed.
#3 Flash Correctly
Flashing of penetrations should incorporate one guiding principle: All the flashing should be installed weatherboard style (shingle style) so that moisture will slide down the wall away from the windows, doors, electrical boxes, vents and pipes.
One of the mistakes we see all the time is not detailing a horizontal condition to drain to the outside. Heads of windows and doors need Z flashing extending past the vertical jambs to kick moisture in the wall out onto the surface of the plaster. Horizontal reveal screed needs to be attached gingerly to keep from compressing the spine of the trim into the WRB and creating a dam.
#4 Maintain the Proper Furring
The furring, which is the amount of space beneath the field of the lath, should be at least 1/4 inch. The object is to make sure that enough plaster can get behind the wire to create a good foundation for the brown coat. There is an easy test for correct furring: Take a pencil with an eraser and push it against the wall, and look at where the lath meets the eraser collar. If they match, the lath has been installed with enough furr to allow for full embedment.
#5 Sand to Cement Ratios
The ratio of sand (aggregate) to cement is one of the few things that can mess up a good job without the general contractor even being aware of it. I got called out to a school built during the summer, and the maintenance guy who asked me to come out to check the ceilings and walls wondered why the stucco was falling off a brand new elementary school. The sand to cement ratio was 7:1. In checking the plaster keys in the ceiling I brushed my palm against some plaster that turned to powder, and a chunk of the ceiling fell down. It was a beautiful job, but there was not enough cement to bind the sand together, and not enough moisture to harden the cement even if there had been enough cement. All the plaster had to be removed.
ASTM Standard C-926, Standard Specification for Application of Portland Cement-Based Plaster, specifies that for the scratch coat, one part of Portland cement should be mixed with two and a half to four parts aggregate by volume; and for the brown coat, one part of Portland cement should be mixed with three to five parts aggregate by volume. The principle is to have just enough cement to coat each granule of aggregate to bind it into a solid mass. Too much cement, and the plaster mix is too rich and is prone to shrinkage cracking. Too little cement, and the mix is too lean—there’s not enough cement to coat each grain of aggregate and the material will lack strength.
Counting the number of shovels of sand in a batch of plaster is one of the things you can do to ensure that you get a good sand-to-cement ratio (32 #2 shovels per 90-pound bag of cement is a good gauge when counting while watching a hod carrier mix mud).
#6 Basecoat Thickness
The thicker the scratch coat, the better the overall strength characteristics of the finished plaster panel. According to ASTM C-926, this means that enough material should be applied on the lath, “to embed the metal base, and with sufficient thickness of material over the metal to allow for scoring the surface.” The furr should be at least 1/4 inch.
The amount of material needed to fill that void and cover the metal base is approximately 3/8 inch of plaster. Using sufficient pressure ensures that enough material is pushed under and over the metal base, which we define as “embedment.” Making sure that you cover the wire and ensure a good scratch coat thickness is a critical step to creating a great stucco job. Scarifying (scoring) or grooving the surface of an unset plaster coat to provide a key for the subsequent coat ensures that the mechanical bond between the scratch and brown, as well as the chemical bond between the two coats, is strong.
#7 Preparation of the Brown Coat
ASTM C-926 requires, “The second (brown) coat shall be applied with sufficient material and pressure to ensure tight contact with the first (scratch) coat and to bring the combined thickness of the base coat to the nominal thickness …” and “… shall be brought to a true, even plane with a rod or straightedge, filling surface defects in plane with plaster.” Then, “the surface shall be floated uniformly to promote densification of the coat and to provide a surface receptive to bonding of the finish coat.”
One of the ways to achieve a superior stucco job is to make sure that the float used prepares the brown coat for the type of texture and finish that your customer demands. That means that if you want a sand finish texture, your brown coat need only be floated with a hard rubber float or a shingle float. If you are going to apply a dash coat finish, the brown coat needs to be floated with a green float or rodded, skimmed and floated to ensure that any voids or humps are fixed prior to dash finish application, because the dash coat reflects every variation in the plane.
#8 Moist Curing the Basecoat
In the 1940s, when my father was plastering, curing was never done. There were instances where the brown coat was so soft the finish would pull off the surface of the brown coat during finish application. Now we know that curing the scratch and brown coats is essential to develop the strength characteristics that assure a great stucco job.
After the scratch coat is set, the plasterer gets a hose with a misting nozzle and soaks the newly plastered wall right before going home. In the morning when he gets to the job, he takes the hose and soaks the wall again to return the moisture that has evaporated from the wall or soaked into the building paper. Forty-eight hours of moist curing morning and evening normally does the trick, but during the winter, curing or hardening slows, so more time is needed. On the other hand, when it is scorching hot, you may have to continually moist cure the walls so they don't flash dry out: and in foggy situations, you might have to wait a week for the plaster to dry out, harden and cure.
When the plaster dries out without enough moisture to cure, the wall stays uncured until enough moisture is added back. I've cured walls that were soft 6 months after application just by adding moisture.
Plaster takes a long time to fully cure. Some say years. The majority of the strength comes during the first 30 days of application. With premium cements, a cured wall can be achieved in a shorter period of time. Curing is a function of time and moisture: without both, the process stops. Curing slows as the temperature drops, so curing during the winter in wet weather can take longer than during the summer. Drying is as critical to hardness as adding moisture. Both are needed for a superior stucco job.
The Mohs Hardness Test confirms the cure. Any GC can do the test at any time during a workday. Simply take a penny and scratch the surface of the plaster. If the wall scratches the penny, the wall is cured. If the penny scratches the wall, it needs more curing. Mohs establishes the hardness of things, talc being a one, and a diamond being a ten. Plaster panels should be in the four to five range, whereas a penny is three. So if the wall scratches the penny, you have prima facie proof of the cure.
#9 Leveling Coat
Using a leveling coat creates a flatter wall than almost any other way of preparing a brown coat. The process can include skimming in a thin layer of stucco right after floating the wall to fill minor voids in the panel if you are machine-applying a finish coat. It can include rodding the brown coat and letting it set, but prior to moist curing, skim a tight coat of acrylic bonding material to fill aggregate voids and capture all the moisture in the panel so there is no evaporation. This creates a hard shell-like finish which has no suction, a perfect base for an acrylic finish.
Lastly, you can moist-cure the floated brown coat, let it dry, trowel fiberglass netting into a bed of acrylic bonder, skim the netting with another layer of bonder, and create a lamina that minimizes cracking by a huge factor. Some manufacturers will provide a warranty period for this application.
#10 Finish Coat Preparation
Taking care with the stucco finish is one of the best ways to ensure a great stucco job. If you are doing a three coat stucco job with a lime based finish, making sure that the wall you are plastering is moist ensures that you won’t have cold joints (hard discolored joints where the plaster above meets the plaster below at the scaffold line). This might mean you start wetting the wall an hour before you start finishing the wall.
Having enough manpower to keep a wet edge is also critical to a superior stucco job. If you are smooth troweling a wall, it is critical to have a wall that is wet without standing moisture, and enough workers to scratch and double back, applying a skim coat of stucco material into which the second coat of finish aggregate can be compressed. Some of the most beautiful plaster jobs are smooth troweled stucco with a good paint coat to bridge the fine tight cracks that occur with smooth troweled stucco. The fine tight cracks we call alligator cracking, and are a performance characteristic of this type of finish coat. If you are sand finishing a wall, having enough foam floats to create an even sand finish is also critical.
If you are using a synthetic finish coat, you don’t wet the wall before you start plastering, but you need to keep a wet edge during application. So, rolling on a coat of primer would be the first step towards a great stucco job. The primer does two things: It kills the suction from the brown coat which dries out the edge, making it easier to keep a wet edge; and it assures that floating the aggregate creating the texture does not produce blackheads (small unsightly pinholes in the finish).
With cement stucco finishes, you can fill minor voids in the brown coat by scratching and doubling back with the same material. But synthetic finishes reflect every variation in the plane, and also sometimes need a rolled on prep coat to ensure full coating of the color.
The Cadillac of the preparation buffet is to float the brown coat, cure the brown coat, embed fiberglass netting into the base with an acrylic/cement adhesive, and then apply your acrylic finish coat. This is called a crack reduction coat and creates a surface with significant tensile and flexural strength, which minimizes building movement stress-related cracking.
Conclusion
It doesn’t take magic to produce a great stucco job but you must be aware of the few things that really matter: watching to make sure you’ve a good job framing and a good job lathing; using good materials; assuring that the application of the material is done by well-trained lathers and plasterers; watching and checking to ensure that the material gets hard; and using good finishing techniques. Follow all those steps, and when you are done you’ll have a great stucco job.
Images courtesy of Bell Construction Consulting.
Bruce Bell started in the industry as a union hod carrier. After 18 years in the field he became the Executive Director of Sacramento Valley Bureau for Lath and Plaster and served on the Northern California Apprenticeship Committee. He retired in 2013 and currently sits on the ASTM C-11 Committee. Bell Construction Consulting is his consulting firm where he reviews onsite projects, details, specifications, and diagnoses plaster problems. He consults for the Wall and Ceiling Alliance and Wall and Ceiling Bureau covering the Northern California area, and has authored many of the technical bulletins on the WCB Website. His blog is plastertalk.blog, and website is bellconstructionconsulting.com.
June 2021 | Volume 84 | Issue 6
The Voice of the Industry since 1938