Soundproofing a Shoebox
What does it mean to soundproof an area? This article will outline the steps. By Jon W. Mooney, PE
Everything you need to know for a successful soundproofing job, you may have already learned in grade school. In the classic sixth grade soundproofing contest, each student is given a shoebox and instructed to modify their shoebox so that when an alarm clock is placed inside, the sound level of the ringing clock, measured outside the box, will be the lowest possible. The winner is the one having the least decibel reading.
The exercise is a good one for students and for others contemplating how to professionally soundproof a space. To be successful, you need to consider each path that the alarm clock sound can take to reach the outside of the shoebox, and then come up with a good way to block each and every one.
But what does “soundproof” really mean?
Definitions
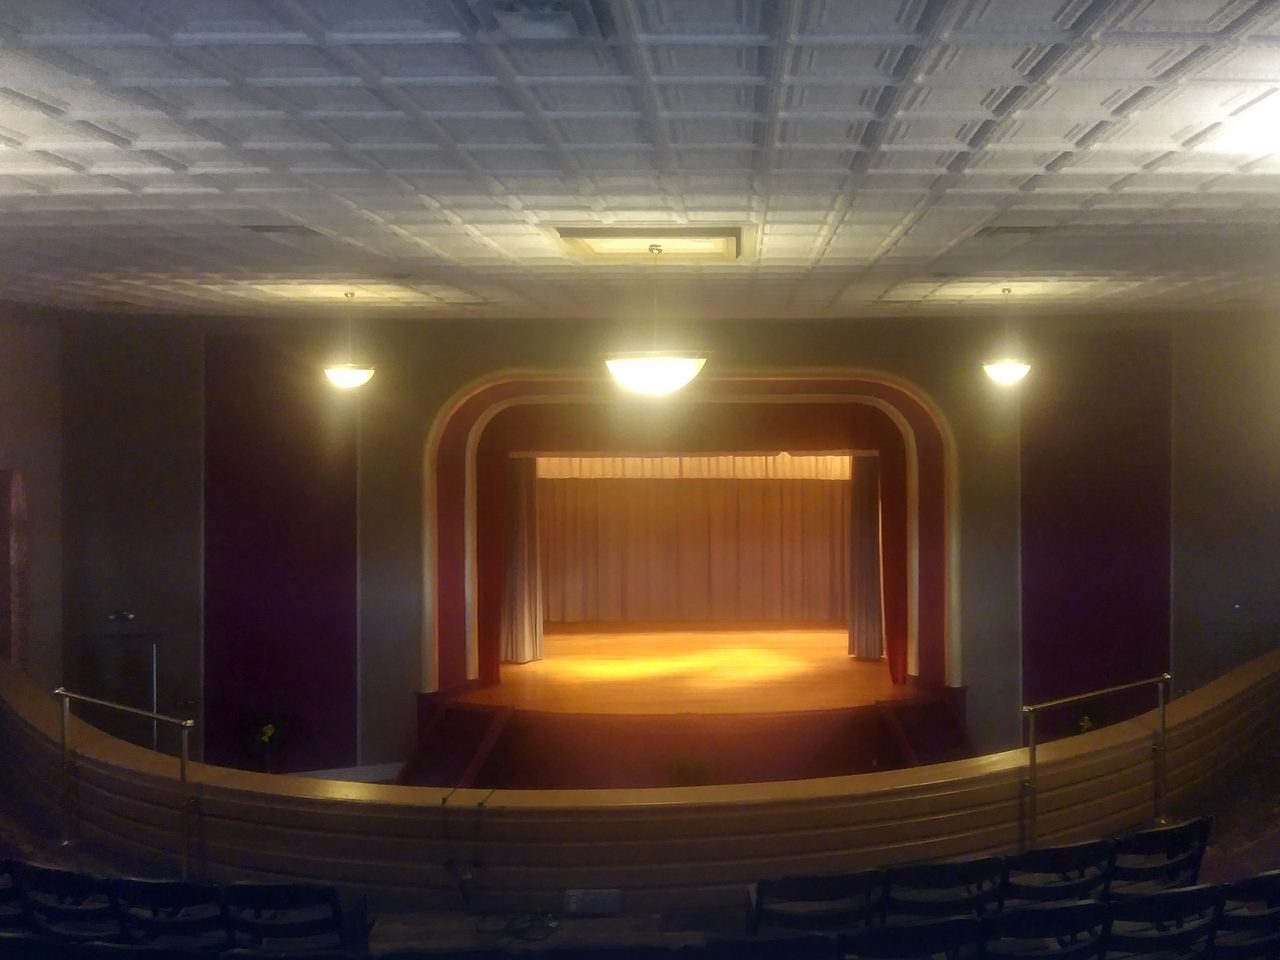
Before starting, you should first know that soundproof is more of a marketing promise than a realistic performance goal. Building components are soundproof like dams are waterproof; if the sound or water level on the other side of the structure grows high enough, both water and sound will start pouring over. The term soundproof came into common use in the mid-1800s, fueled by two movements in the architecture and building industry.
The first movement was the development of “fire-proof” construction methods using wrought iron, concrete and clay tile construction. The materials used in fire-proof construction had the added benefit of being really good sound insulators, so advertising the new buildings as fire-proof and soundproof was seen as a no-cost bonus feature. The second movement was the development of multi-family buildings using flats or suites. With only one or two living units per floor, neighbors were separated by those new fire and soundproof floors. This new “flat” layout was advertised as being much more regal and quiet than the older suburban villa row houses having: “… through which you hear the vocal and piano practice of your neighbor’s daughters on either side as plainly as if it were in the next room …” (Daily News, London, August 11, 1853). Soundproofing made its stake in the construction market of the 1850’s and has remained strong in our lexicon ever since.
Step #1: Seal the Box
The first and easiest path for the alarm clock sound to get out of the box is through the air gap between the box top and box. So the first solution for the shoebox and all other soundproofing projects is to find and seal all construction gaps and penetrations. For the shoebox, the functional gap between the lid and box is the largest air path. Although the shoebox could be sealed by taping it shut, this would make the lid non-functional, so weather stripping may be a better overall choice. In fact, weather stripping is a good choice for all soundproofing projects, helping to seal those functional air gaps around doors and windows. Popular soundproofing products made specifically to seal functional gaps around doors include specialized thresholds, automatic door bottoms, perimeter seals, and weather stripping.
In addition to the air gap at the lid, the shoebox may be carefully inspected and found to have pinholes along its edges and corners. These air gaps may be hidden by paper trimming but not really sealed airtight. Running a bead of glue along the inside edges of the box and lid will help seal these hidden gaps. The largest air gap in most building projects is found along the bottom of the walls. Baseboard trim routinely hides ragged and damaged wallboard edges, creating large air gaps between the wall and floor through which most of the sound travels from one room to the next. Successful soundproofing requires gaps to be no more than 3/8 inch wide and to then be sealed with a non-hardening caulk which allows some thermal movement. It is a tedious job, but locating and sealing gaps and penetrations is the most critical and cost effective soundproofing step for the shoebox and professional soundproofing project.
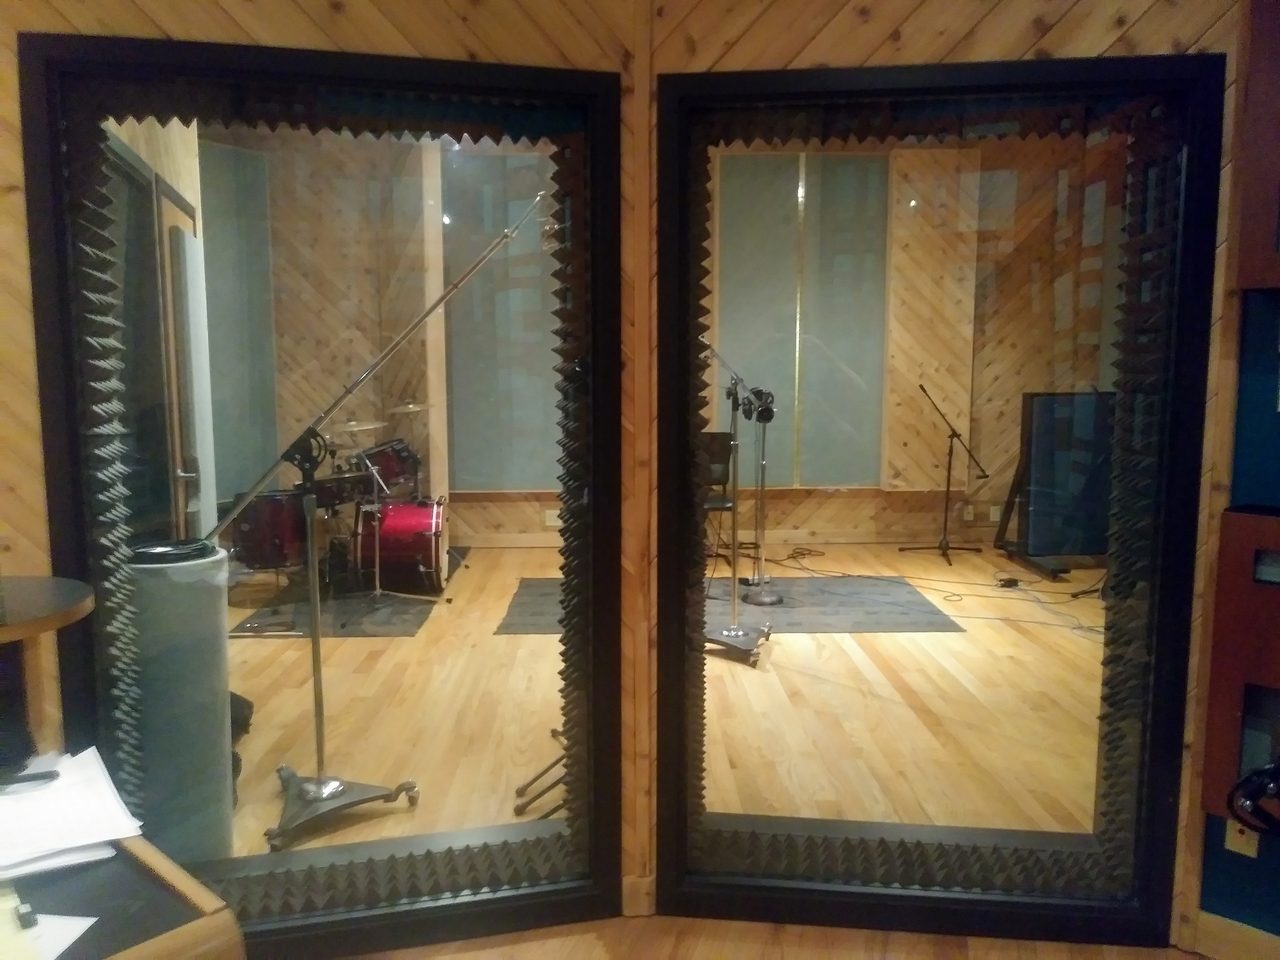
Ventilation ducts aren’t a problem with the shoebox, but they are the largest functional penetrations to consider when trying to soundproof a room. Soundproofing solutions for ventilation include air duct silencers and internal duct liners.
Step #2: Don’t let the alarm clock vibrate the box
If the alarm clock sits in the bottom of the box, or worse yet is allowed to touch the sides or lid, its vibration will shake the box, allowing sound energy to escape the box via vibration. The same problem occurs when planning for the mounting of mechanical equipment serving soundproof rooms. Fans and compressors can vibrate the entire building structure, causing excess noise in rooms several floors removed from the offending equipment. For the shoebox problem, the alarm clock could sit on top of a sponge in the middle of the box to keep it isolated. Soundproofing solutions for mechanical equipment include isolator pads of rubber and compressed fiberglass, spring isolators, wire rope isolators and pneumatic isolators.
Step #3: Don’t let sound bounce around in the box
Shoeboxes and stud wall cavities support specific frequencies of sound whose wavelengths fit neatly within their width, length and height dimensions. This effect makes it easier for sound at these particular frequencies to pass through the shoebox or demising wall. To cut this effect, all sound-rated walls specified for soundproofing projects are provided with sound absorbing material such as fiberglass, stone wool or cellulose in their stud cavities. Loosely filling the shoebox project with cotton balls will help absorb those cavity resonances and still keep the alarm clock isolated on its sponge pedestal.
Step #4: Add weight to that thin cardboard
For sound to get out of a well-sealed shoebox, the sound wave must vibrate the cardboard skin, which in turn makes a copy of the sound wave on the other side using the energy that’s left. Thin cardboard isn’t very heavy, so not much energy is lost in making it move. Most of the original sound wave energy is then left to generate the copy outside the box.
Adding weight to the cardboard makes it more difficult for the sound wave to move, takes up much more of its energy, and leaves the outside copy of the sound wave much weaker. In fact, every doubling of the surface weight will result in a 6 dB drop in the noise transferred through the box. Since the shoebox starts out with very thin walls, adding a half inch to their thickness can result in a huge decrease in noise. Adding weight to demising walls in a soundproofing project can be as simple as increasing the number of layers of gypsum wallboard or changing to a heavier type of construction.
Step #5: Don’t let the box ring
If the sides and top of the shoebox are fairly stiff, you can rap your knuckle on them like a drumhead. This drum sound is the sustained ringing of the sides and top, which also helps to sustain sound penetrating through the box. You can damp this ringing, making it more difficult for sound to penetrate, by coating the outside of the box with modeling clay. Soundproofing products which add a measure of damping include viscous glues, viscous layer wallboard composites and mass-loaded vinyl sheets.
Step #6: Thinking outside the box
Although the first five steps should solve the majority of the alarm clock sound in a shoebox and professional soundproofing projects, there are a few sound isolation problems which may require specialty solutions.
Removing the air from the shoebox is not practical but it would take away the air path for sound to escape the box. Presently, the only building products which feature removing the air path are vacuum insulated glazing. Designed primarily to improve the thermal insulation of windows, they also show a small improvement in sound insulation.
Remembering that sound escapes through a sealed box by shaking the cardboard like a speaker cone to produce a copy of the sound wave on the other side, we could drop this path if we could attach the cardboard to an actual speaker coil, and drive it in the opposite direction to that of the sound wave. Soundproofing products aren’t available off-the-shelf, but the science of Active Noise Control is well advanced to allow consultants to develop highly effective noise cancelling solutions using this technique. For the shoebox project, a very smart student with a tricked-out Arduino might solve it.
Instead of trying to cancel the alarm sound with a loudspeaker and active noise cancellation, we could use Passive Noise Cancellation, splitting the sound in two, making one half travel a longer path, then recombining the halves. If one sound path is a half wavelength longer than the other, the two halves will be exactly out of phase when they recombine, effectively cancelling each other. Each solution must be custom made; however, acoustic metamaterial insulation can be designed, and 3-D printed to take advantage of passive noise cancellation—for the shoebox and professional soundproofing project.
The next time you find yourself with a difficult soundproofing job, think of it in terms of the alarm clock in a shoebox. This will break the problem into its separate parts, and help you plan an effective solution.
Images courtesy of xxxxxxx.
Jon W. Mooney PE is the principal consultant for Acoustics by JW Mooney LLC, a small town Iowa based firm providing state of the art acoustics, vibration and systems engineering consulting for projects throughout the Midwest. Email: acoustics@jwmooney.com.
March 2022 | Volume 85 | Issue 3
The Voice of the Industry since 1938